Understand how to create different meeting types with lemcal
By the end of this tutorial, you’ll know how to create a meeting type in lemcal and configure its advanced options, including availability, scheduling preferences, questions, lead routing, reminders, follow-ups, paid bookings, and embed settings.
Your meeting type controls the full booking experience. Setting it up properly helps people book the right meeting, gives you the information you need before the call, and lets you automate what happens before and after the meeting.
1. Go to Meeting types in the left sidebar, then click New meeting type. This opens the meeting type builder where you’ll configure all booking settings.

2. In the General tab, start by entering your Meeting Name. This is the name people will see on your booking page.

3. Then set the Scheduling page link. This creates the unique URL people will use to book this meeting type.
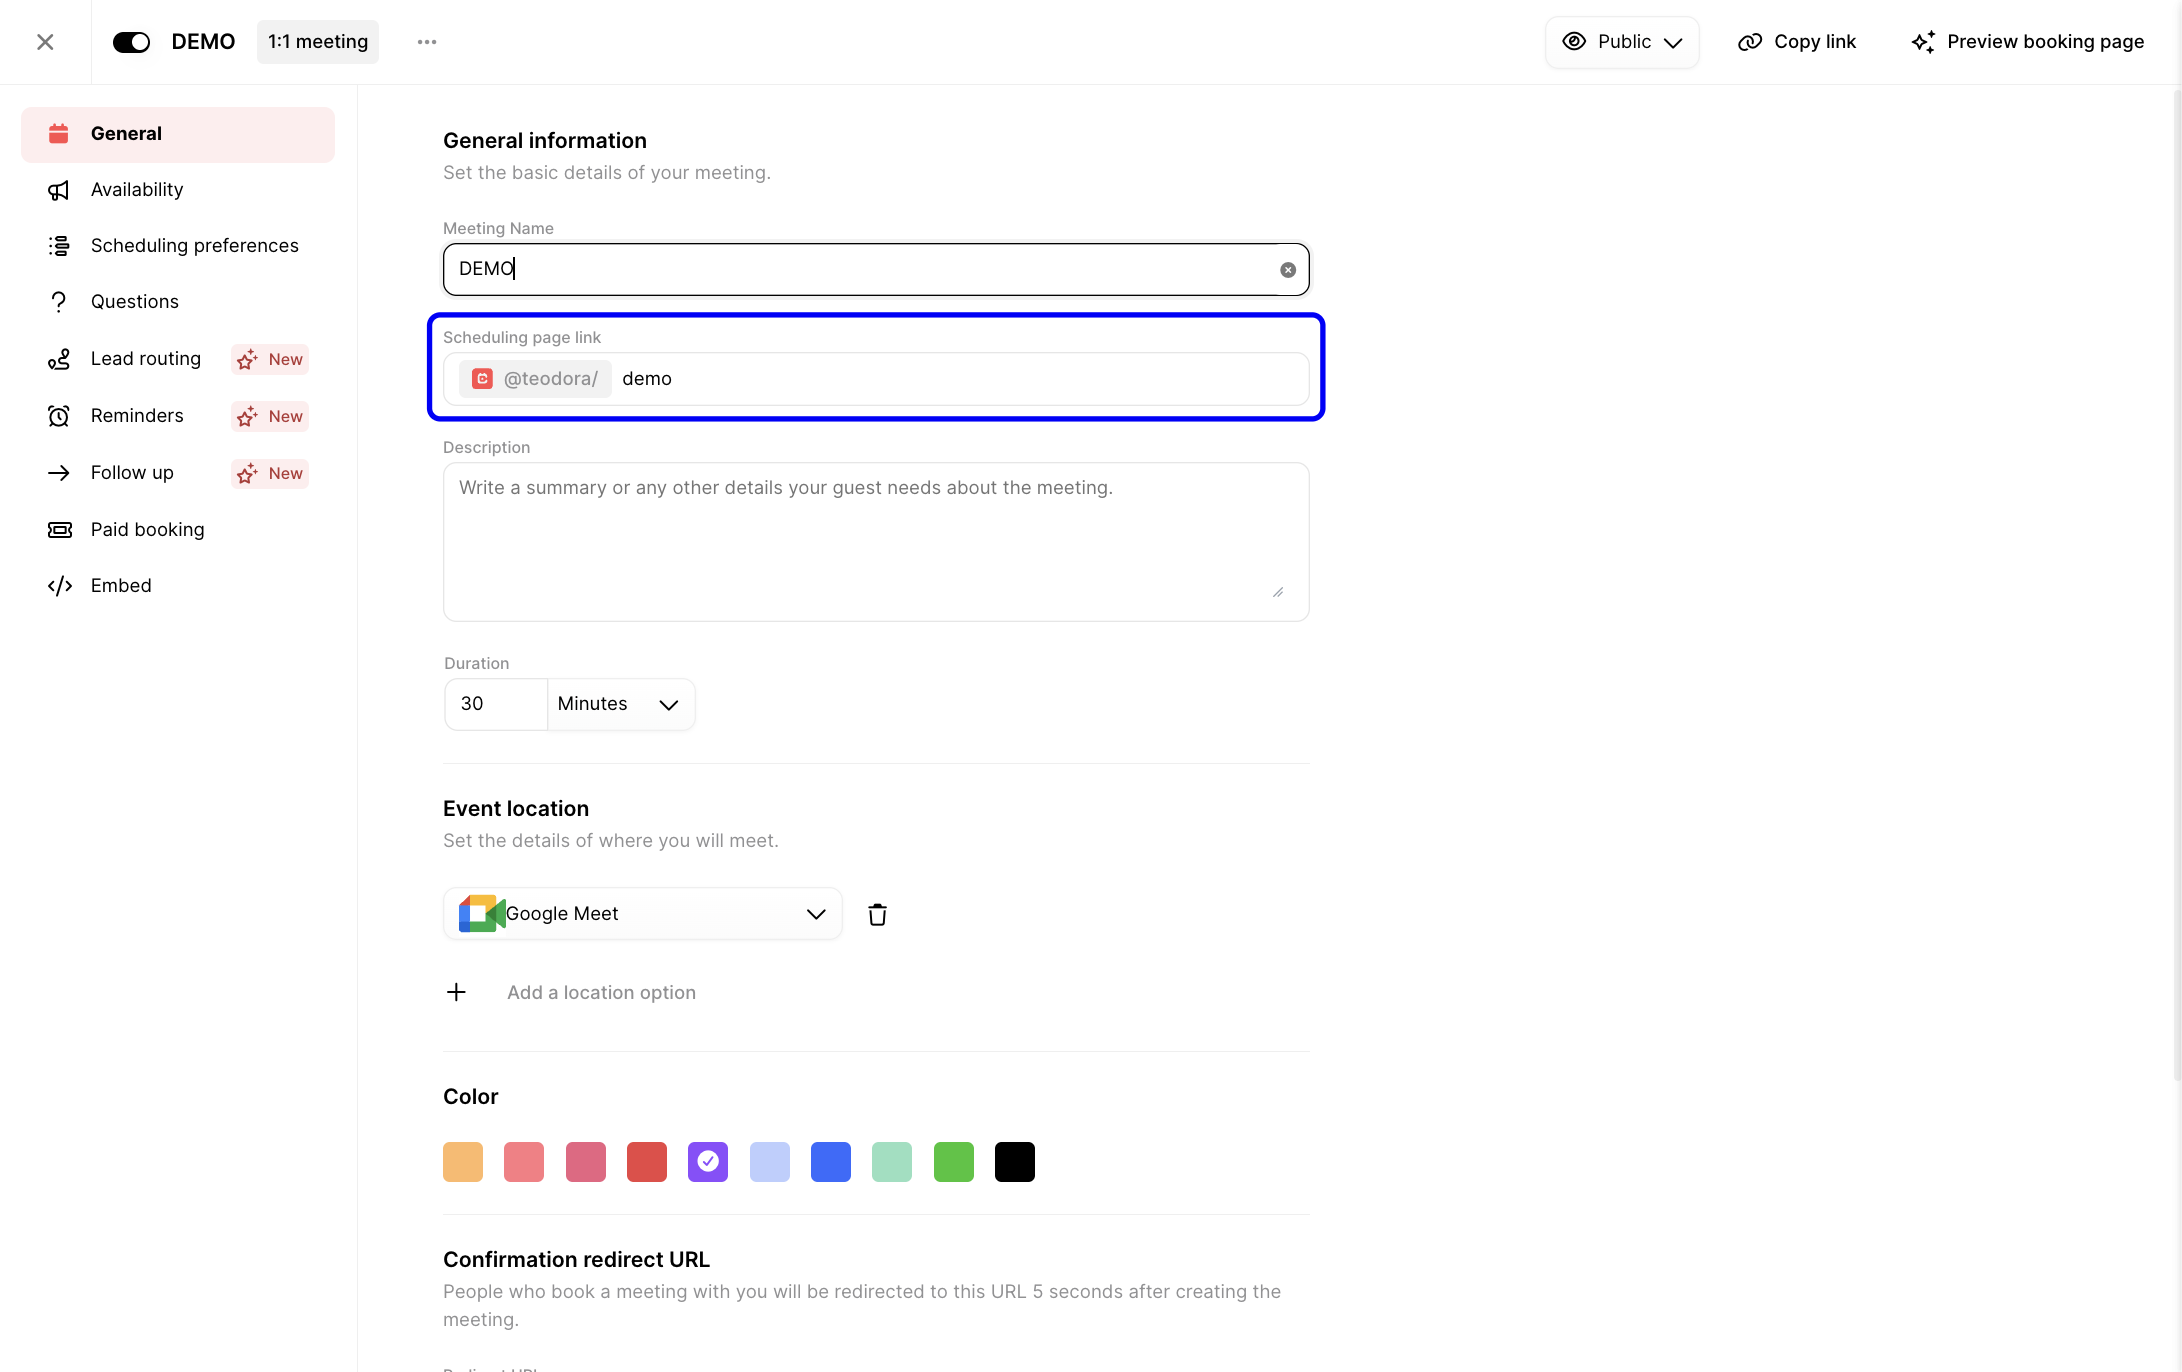
The General tab contains the core information for your meeting type. This is where you define what the meeting is, how long it lasts, and how it should behave after someone books.
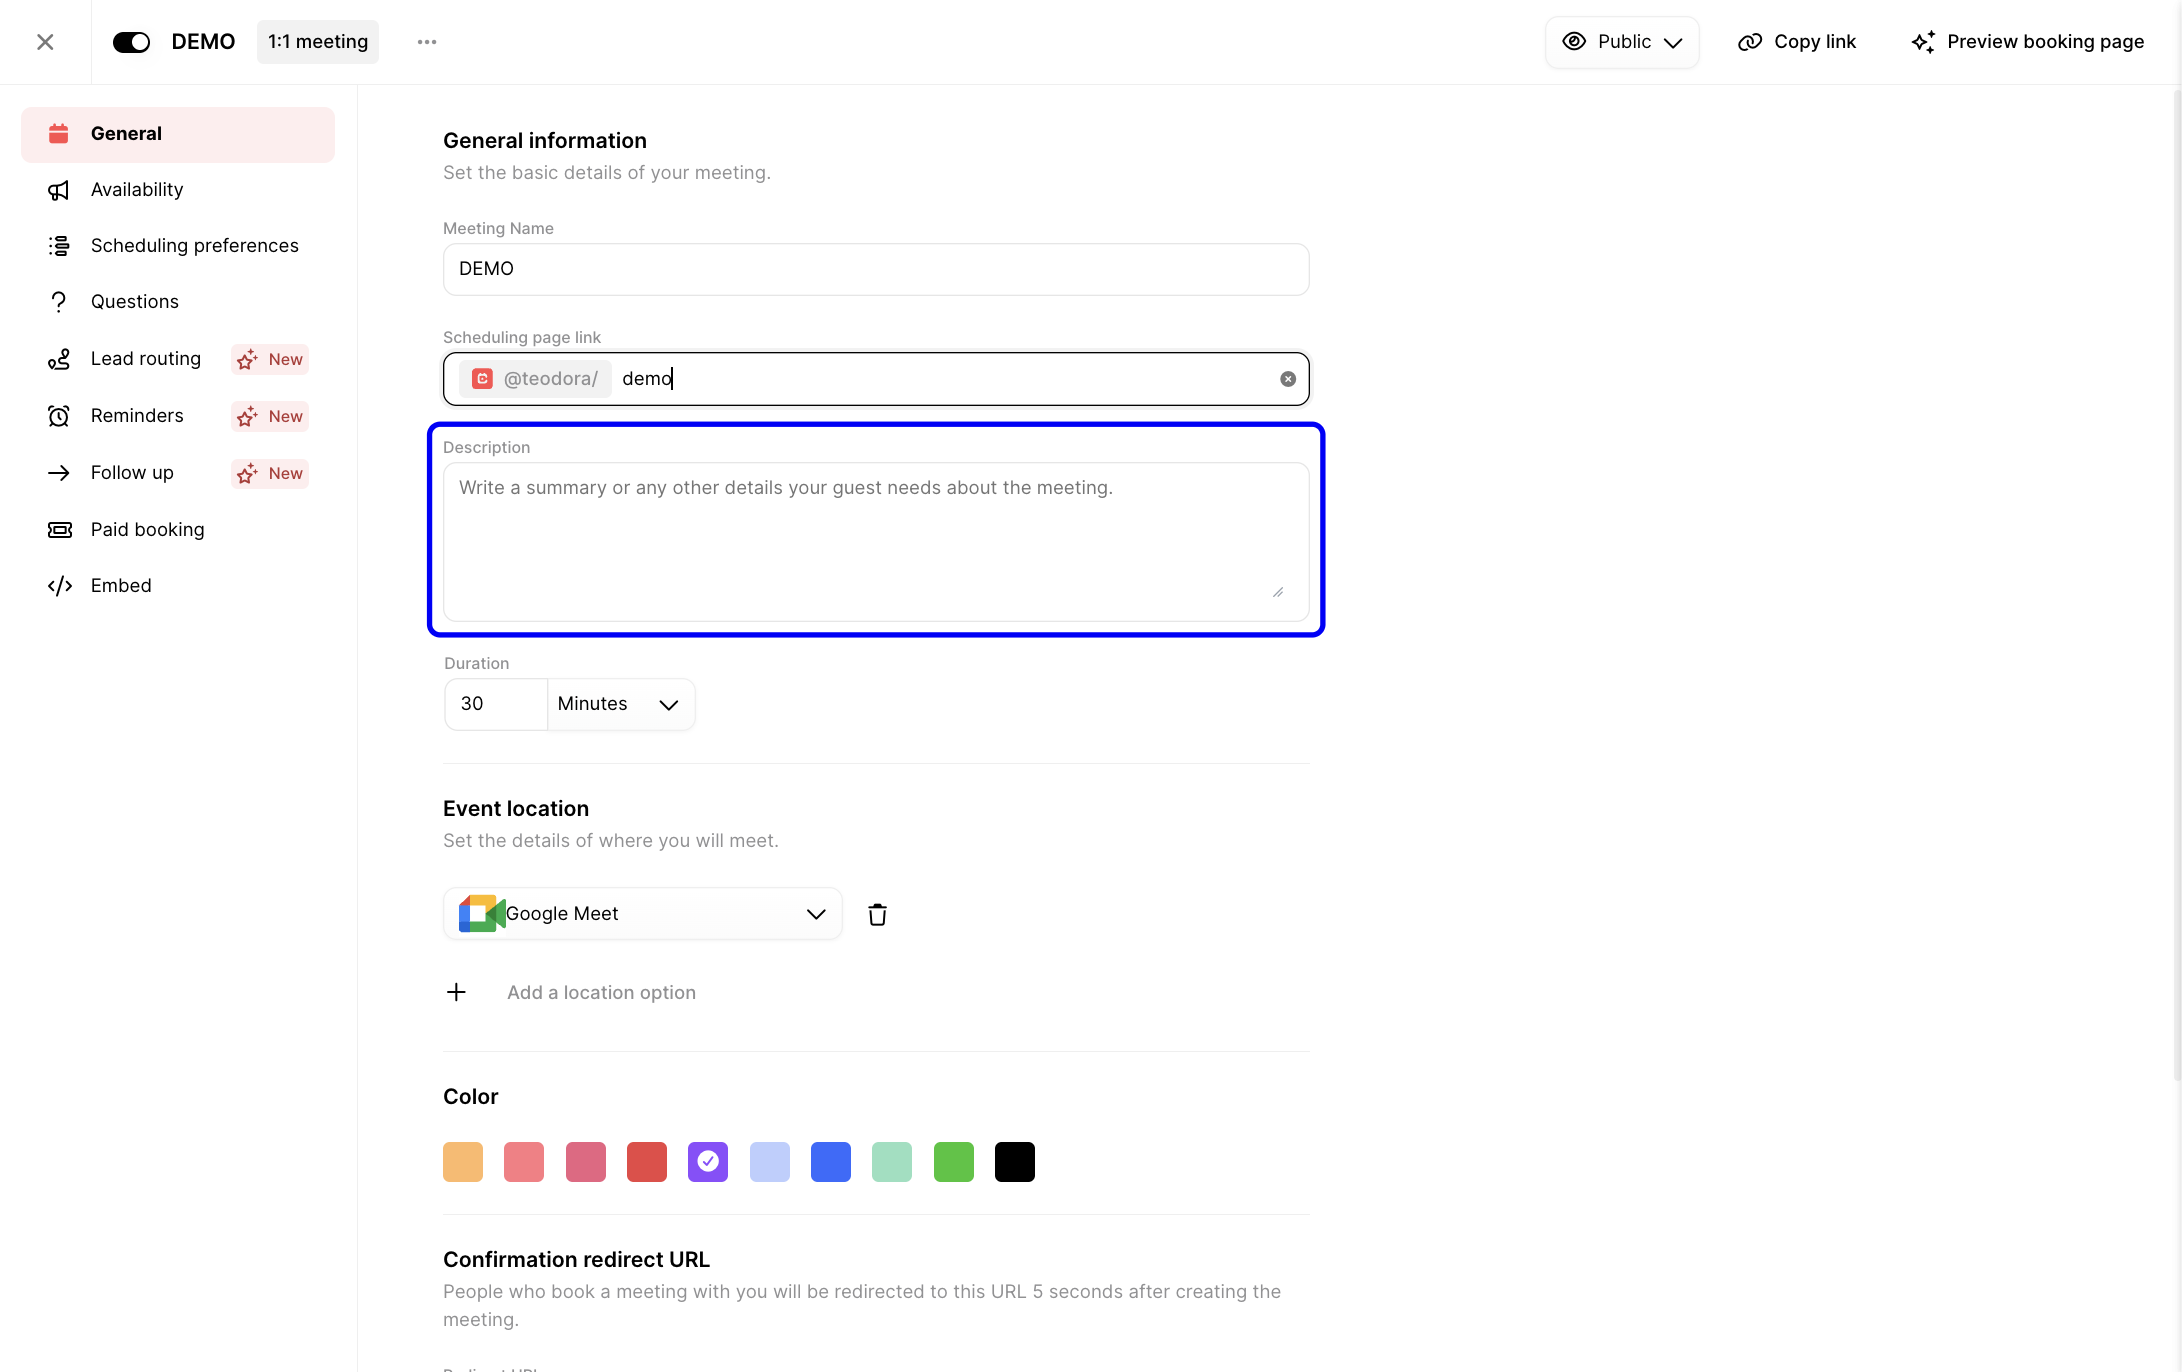
1. Add a description. Use the Description field to explain the purpose of the meeting or tell guests what to prepare. This text appears on the booking page and helps set expectations.
2. Set the duration. Choose how long the meeting should last in minutes or hours. This affects which time slots are offered on the booking page.
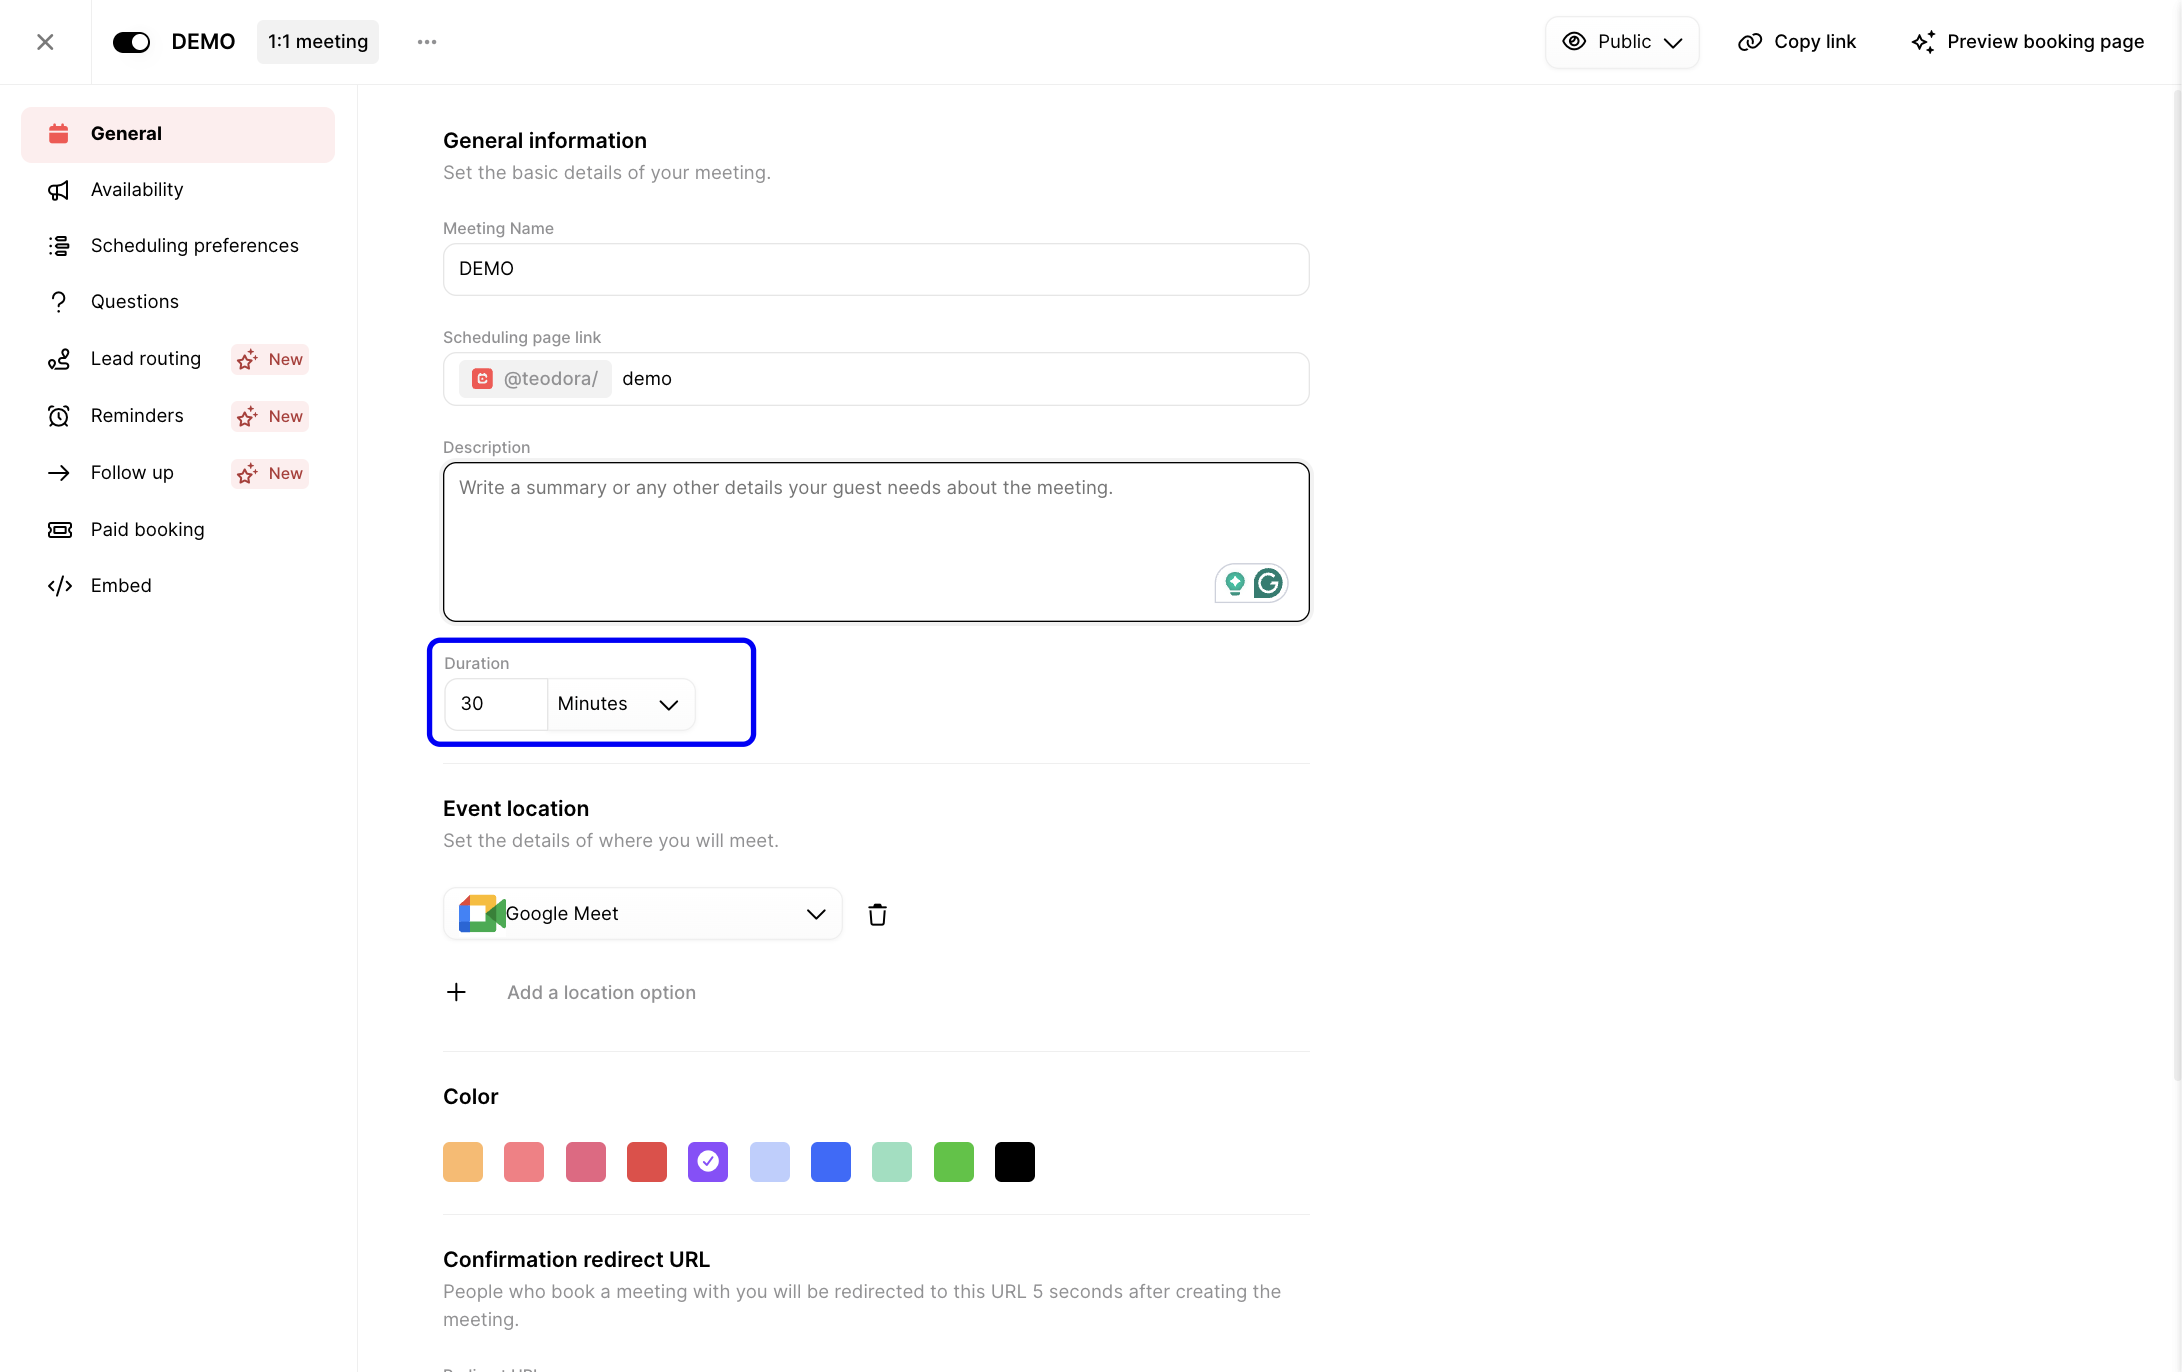
3. Choose an event location. Select where the meeting will happen, such as Google Meet. This is a critical setting: if no event location is configured, lemcal won’t generate a meeting link for booked events.

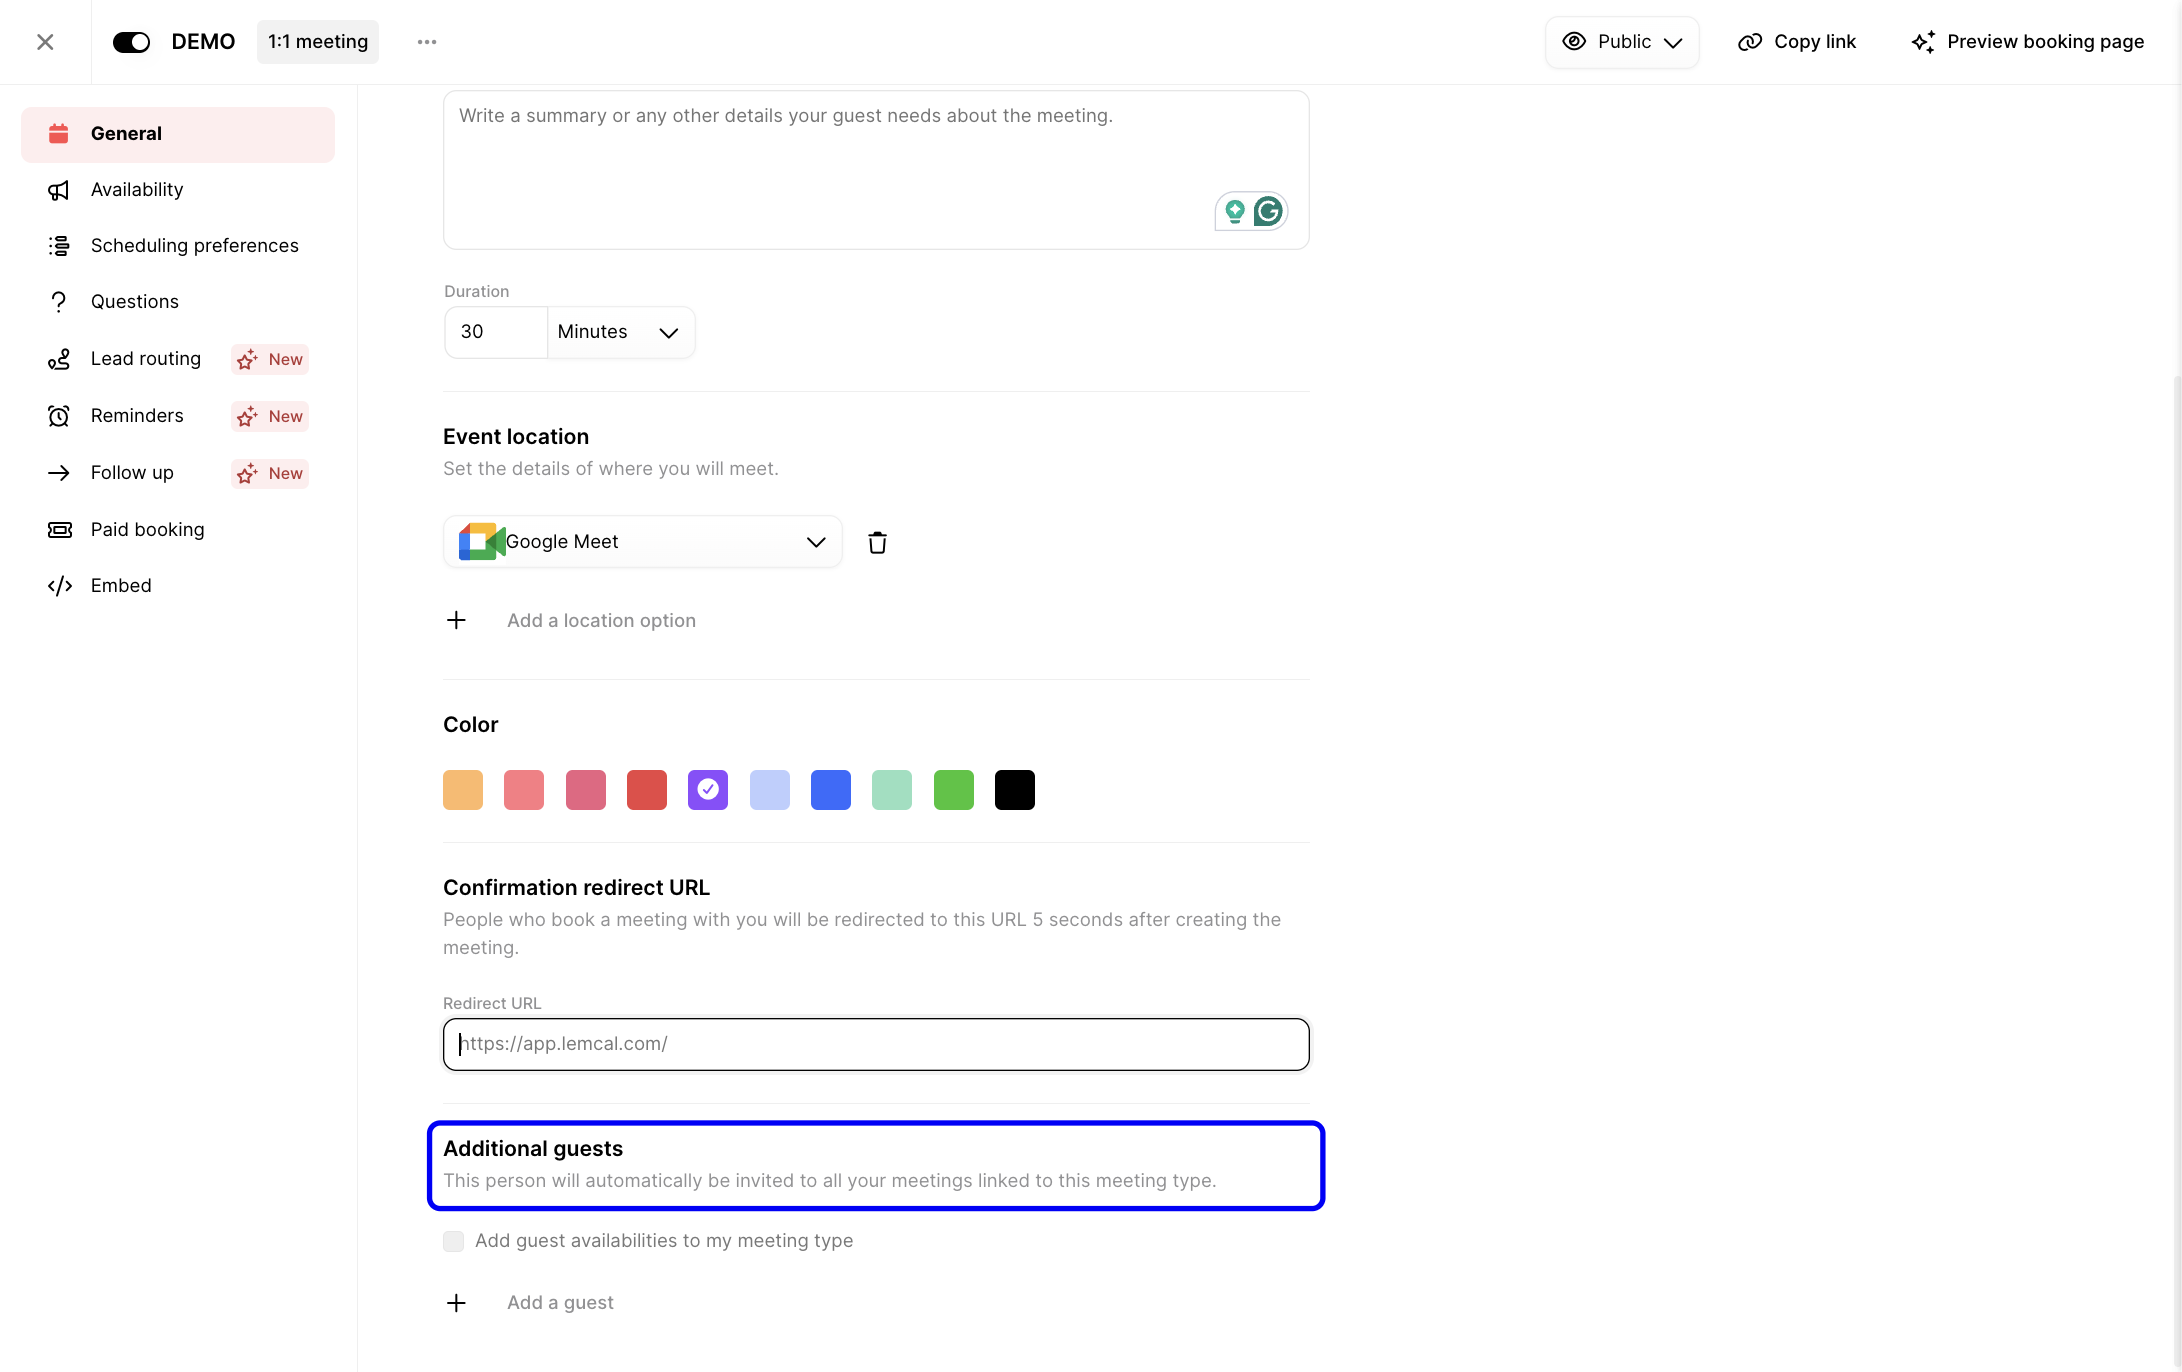
4. Add a confirmation redirect URL. If you want guests redirected to a custom page after booking, enter it in Redirect URL. This is useful for thank-you pages, onboarding pages, or next-step instructions.

5. Review additional guests. The Additional guests section lets you add people who should be automatically included in every booked meeting for this meeting type.
The Availability tab does not let you edit a schedule directly. Instead, you select one of the availability schedules you already created in the main Availabilities area.
1. Open Availability, then choose the schedule you want this meeting type to use from the dropdown list. This is how you assign booking hours to the meeting type without changing the schedule itself.
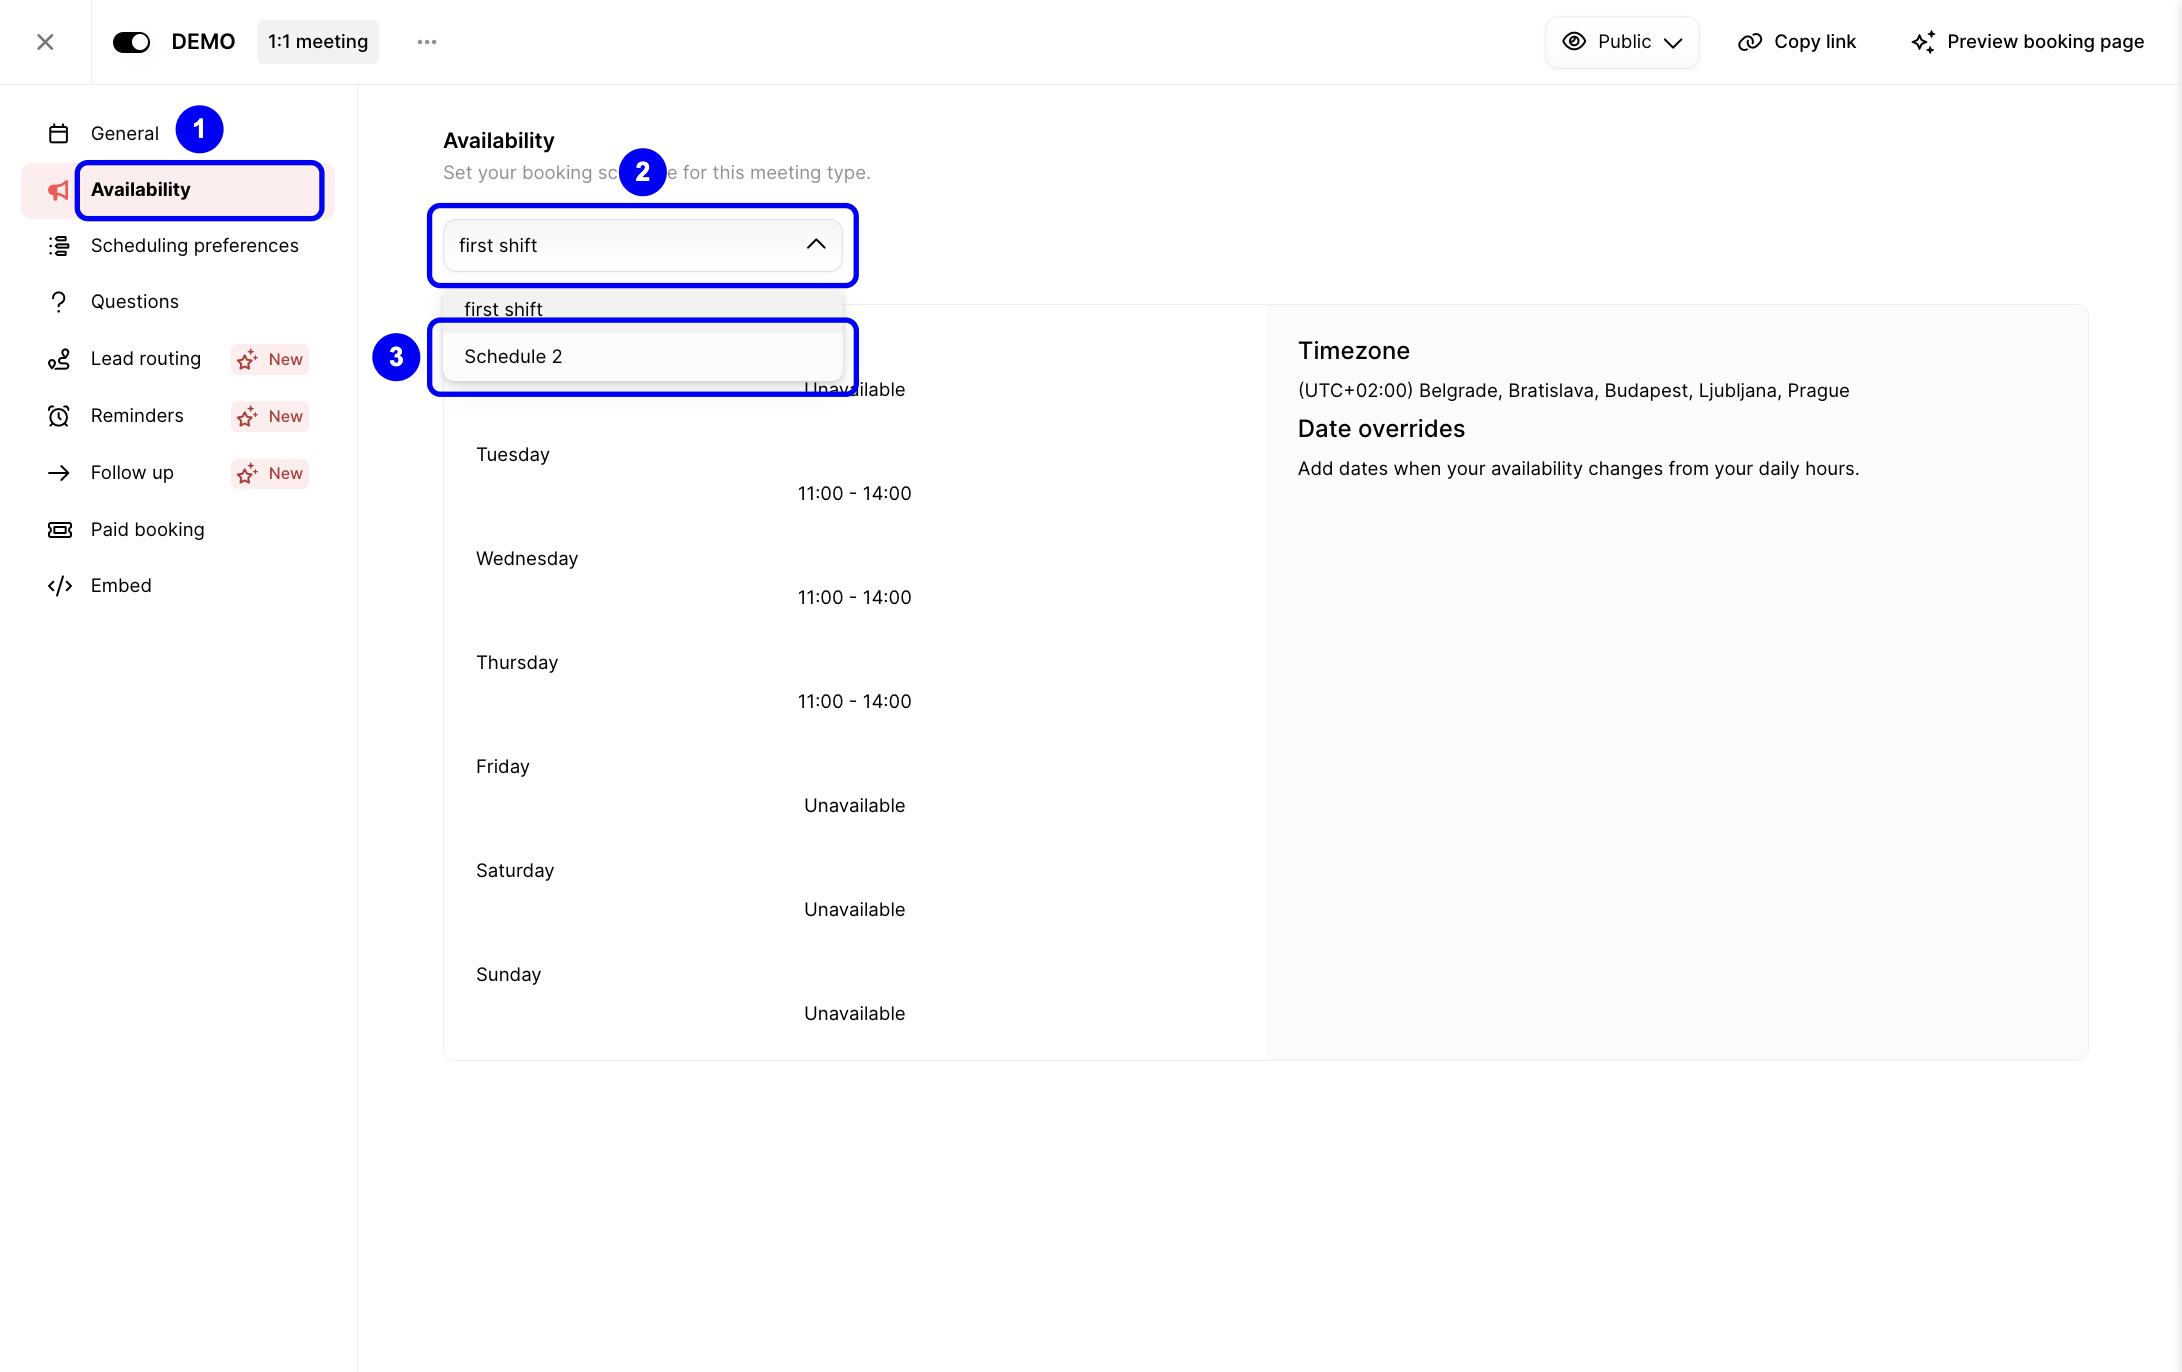
Important: If you want to change working days or hours, you need to go to the main Availabilities section. Inside the meeting type, you can only select an existing schedule.
The Scheduling preferences tab controls when and how people can book. These settings are useful when you want more control over notice periods, buffers, slot visibility, and daily booking limits.
1. Set required notice, buffers, slot increments, and daily limits. Open Scheduling preferences to configure the booking rules for this meeting type. Here you can set a minimum and maximum notice, add breaks before or after meetings, choose the time slot increment, and limit the number of meetings per day.

Questions appear before guests see available time slots. Use them to gather context, qualify leads, or require information before someone can complete the booking flow.
1. Open the Questions tab. At the top, you can also choose whether unanswered guests should be pushed into a lemlist campaign.

2. Create or edit a question in the question card. You can define the question text, activate it, and select the answer type.

3. If a question must always be answered, enable Mandatory. This prevents guests from continuing without filling it in.

4. You can review or change the Mandatory setting at any time while editing the question.
Common uses for questions:
Lead routing lets you send people to different meeting types based on their answers. This is useful when you want to share one booking flow externally but direct different use cases to different destinations.
1. Open Lead routing, click Choose a value, and select the question you want to use for the rule.

2. Choose the rule operator, such as equal, contains, or not contains, then prepare the action that should happen when the condition is matched.

3. Enter the comparison value, click Choose an action, and select Redirect to an other meeting type if you want matched leads sent to another booking flow.

Note: Lead routing decides which meeting type a guest should enter. It does not distribute meetings across teammates. For team distribution, use round robin meeting types instead.
Reminders help reduce no-shows by sending automatic emails before the meeting starts.
1. Open Reminders, enable reminders, and edit the email content. You can define when the reminder should be sent and fully customize the message.

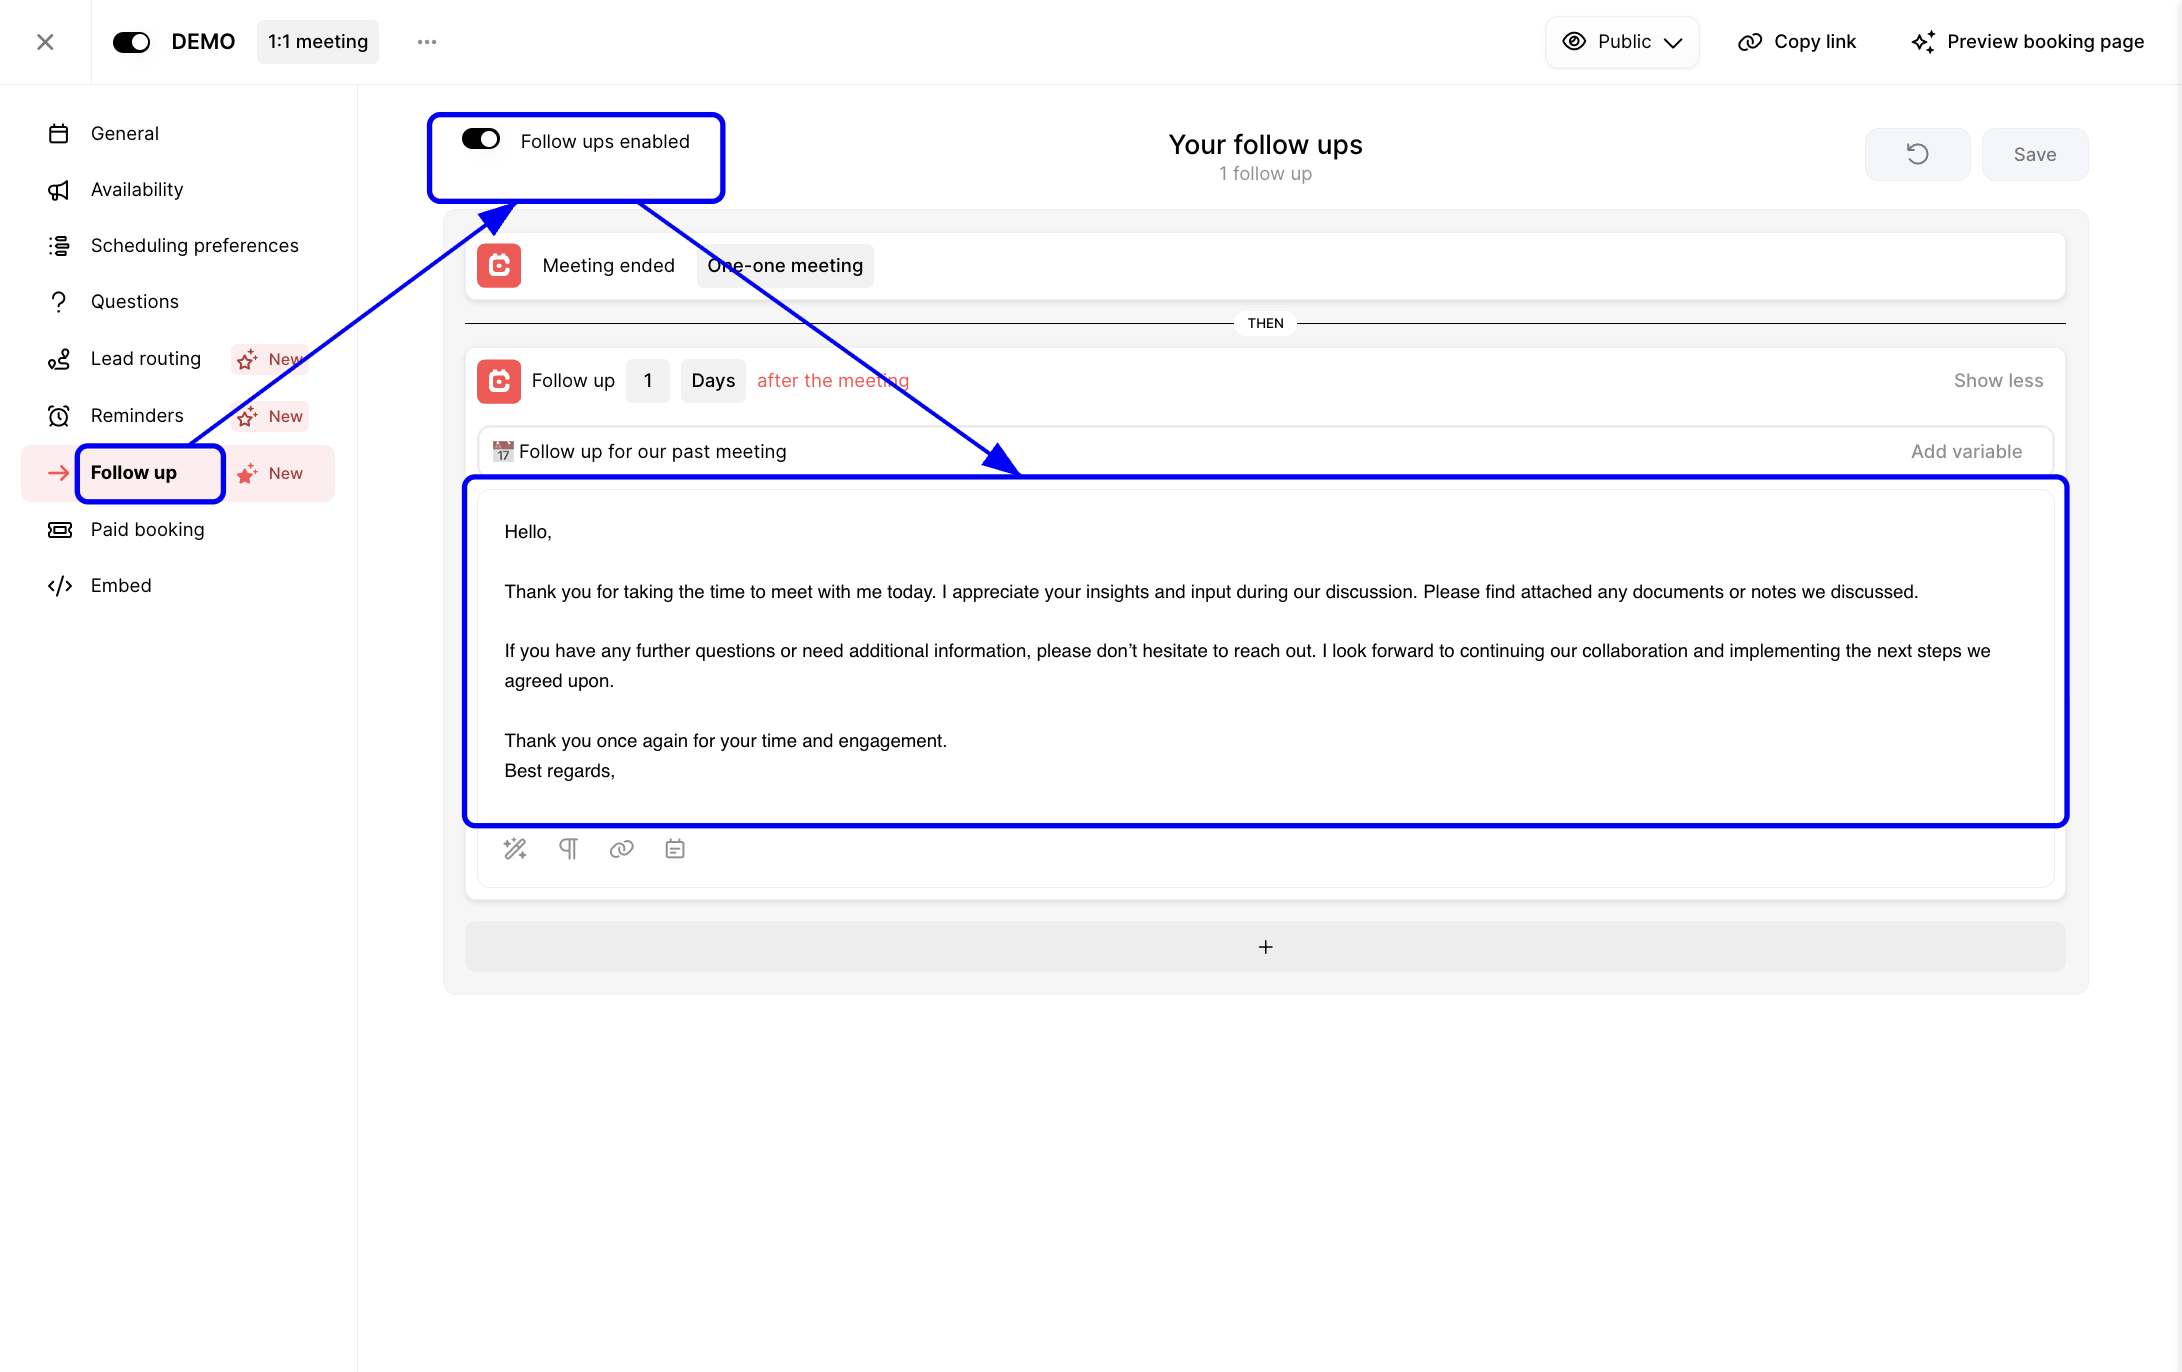
Follow-ups let you automatically contact guests after the meeting ends. This is useful for thank-you emails, recap messages, next steps, or sharing additional resources.
1. Open Follow up, enable follow-ups, and edit the email content you want sent after the meeting. You can also control the delay before the message goes out.
If you offer consulting, sessions, or paid calls, you can make the meeting chargeable through Stripe.
1. Open Paid booking and enable the Stripe integration to make reservations chargeable. Once connected, you can define the booking price and currency.

Important: Paid meetings are not currently supported on embeds.
If you want to place the meeting on your website, use the Embed tab to copy the embed code.
Open Embed, review the generated code, and copy it into your site where you want the booking widget to appear. You can also choose whether to use the fullscreen calendar version.

Here’s a simple way to use these advanced settings together:
Issue: Booked meetings don’t include a Google Meet link
Issue: The user wants to change working hours from inside the meeting type
Issue: Guests can book too soon or too far in advance
Issue: Guests aren’t being redirected to the correct meeting type
Issue: Paid bookings don’t work on an embedded widget


